The best polygel nail kit for beginners. Polygel makes it easier than ever to give yourself a salon-quality manicure at home.
Imagine the best of both worlds—acrylic and hard gel nails. Polygel is a hybrid formula that possesses the flexibility of gel and the strength of acrylic, providing a lightweight and durable method for flawless nails.
Polygel nails are odorless, non-toxic, and easy to apply, making them an attractive choice for both salon professionals and DIY enthusiasts.
Benefits of Polygel Nails
- Natural Look and Feel: Polygel nails offer a natural-looking finish, with a flexibility that mimics the movement of natural nails. They are incredibly lightweight, making them comfortable to wear.
- Durability: These nails are known for their impressive durability. Unlike traditional acrylics, polygel nails are less prone to cracking or chipping, ensuring your manicure remains pristine for longer.
- No Odor: Say goodbye to the strong chemical odors associated with acrylic nails. Polygel nails are virtually odorless, providing a more pleasant nail experience.
- Easy to Shape: Polygel is easy to work with, allowing for effortless shaping and sculpting. Whether you prefer a classic square or trendy stiletto shape, polygel nails can accommodate any design.
- Quick Curing: Polygel nails cure quickly under LED or UV lamps, reducing the time spent waiting for your nails to dry.
How Long Do Polygel Nails Last?
One of the most attractive features of polygel nails is their longevity. When applied correctly and with proper maintenance, polygel nails can last anywhere from two to four weeks without showing significant signs of wear.
How Much Do Polygel Nails Cost?
The cost of polygel nails can vary widely depending on various factors, including your location, the salon you visit, and the complexity of the design. On average, you can expect to pay between $40 to $120 for a full set of polygel nails, the higher end if you’re getting elaborate artwork designs. Fills or maintenance appointments typically range from $30 to $60.
For those who prefer the DIY route, investing in a polygel nail kit can save you money in the long run. Quality kits can range from $30 to $100, depending on the brand and included accessories. While the initial investment may seem steep, it pays off quickly as you create and maintain your salon-quality polygel nails at home.
Best Polygel Nail Kits
Morovan Polygel Nail Kit
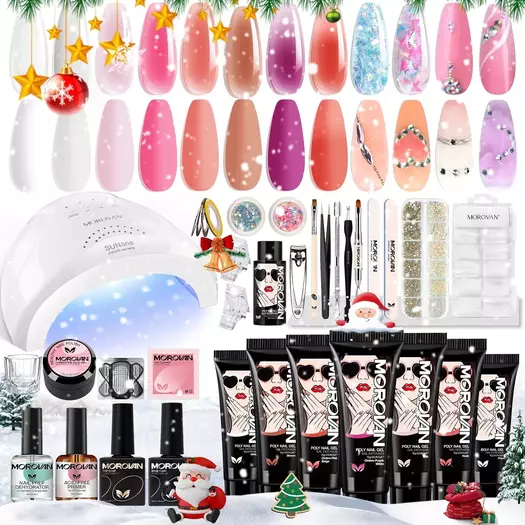
The Morovan Polygel Nail Kit is an excellent option for those looking to create stunning polygel nails at home. This kit includes a mix of 8 polygel colors (including 2 glitters), a powerful curing lamp, slip solution, base and top coats, and all the essential tools you need for precise nail sculpting. Users have lauded this kit for its ease of use for beginners, easy to follow instructions, and long-lasting results.

Beetles Gel Polish Poly Nail Extension Kit
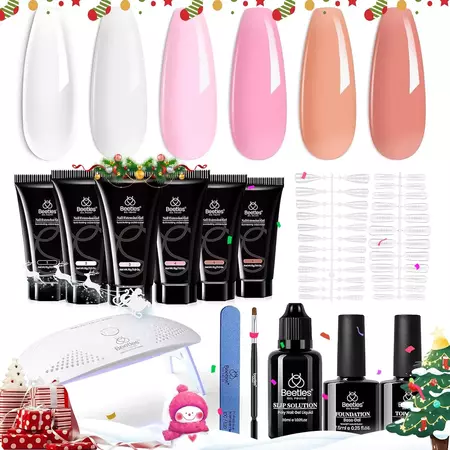
The popular Beetles Polygel Nail Kit includes six toxin-free and low odor polygel nail colors, along with a compact touch-button mini LED lamp, 48 dual form nail molds, gel base top coats, slip solution, sculpting tools, and a double-ended nail art pen. It’s beginner-friendly, allowing you to build beautiful nail extensions in just 3 minutes, and it can last up to a month when applied correctly.
JEWHITENY Poly Extension Gel Nail Kit
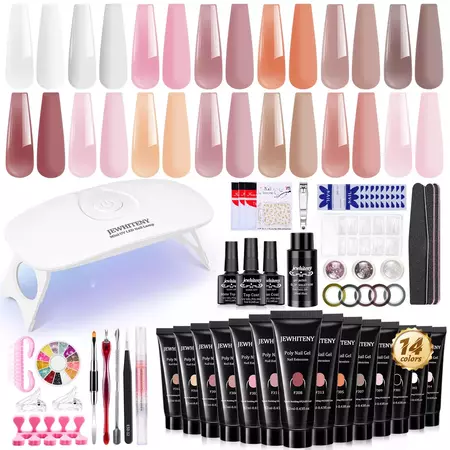
JEWHITENY Poly Extension Gel Nail Kit is a complete package for professional-quality polygel nails at home. It includes a 48W LED nail lamp for quick curing, 14 vibrant builder extension gel colors, and all the applying and shaping tools you need. The results are long-lasting and chip-resistant nail extensions that stay flawless for weeks. This complete polygel nail kit package is suitable for both beginners and experienced users, and comes with clear instructions for easy use.
GAOY Poly Gel Nail Kit with UV Light Starter Kit
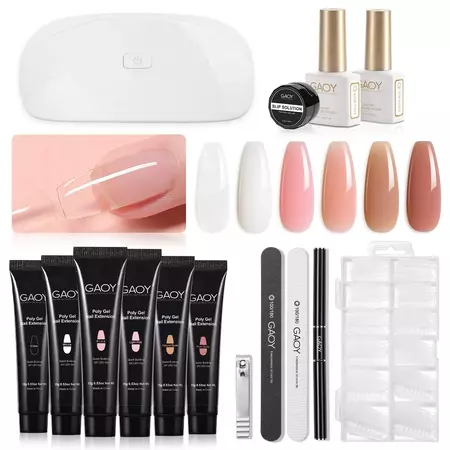
The GAOY Poly Gel Nail Kit with UV Light Starter Kit boasts six poly gel colors alongside a nail lamp for efficient curing, top coat, base coat, and a manicure set – everything you need to give yourself a salon-quality polygel manicure at home. With 120 dual forms included, there is a lot of room for trial and error for a beginner. Just follow the guided instructions, which include helpful images, and you’ll be creating perfect polygel nails at home within the first few tries.
Modelones Poly Nail Extension Gel Kit
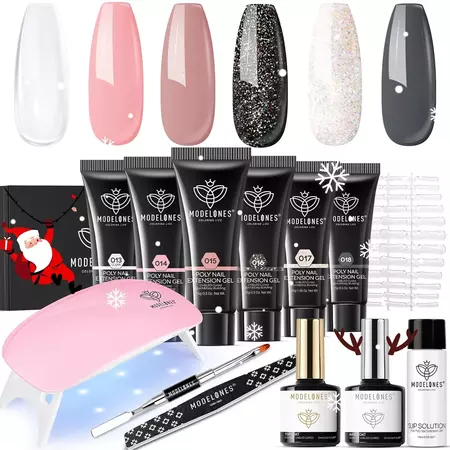
Modelones Poly Nail Extension Gel Kit is another top-selling polygel nail kit for beginners to complete their own polygel manicures at home. This kit comes with 6 poly nail gel colors, a 6W mini nail lamp, base top coat set, 48pcs dual nail forms, a nail file, and nail dust brush pen. All ingredients are toxin-free and made of a botanical extracts formula which is low odor, long-lasting, and safe on natural nails.
How To Do Polygel Nails
If you’ve never done your own manicure at home, aside from applying polish from a bottle straight onto your nails, doing your own polygel nails may seem difficult. It’s really not though! It’s a pretty straight forward process and you don’t need any professional salon tools besides a curing lamp (which comes in all polygel nail kits).
It may take a few times to get the hang of the process, but once you have it down, you’ll be giving yourself and your friends manicures in no time!
Polygel Nails Step-by-Step Instructions
Step 1: Prep Your Nails Start by ensuring your natural nails are clean and free from any polish or oils. Gently push back your cuticles using a cuticle pusher and file your nails into your desired shape. Be sure to buff and clean your nails to get rid of oils and help with adhesion.
Step 2: Apply a Base Coat Apply a thin layer of base coat (included in kit) to your nails and let it cure for one minute. This creates a smooth surface for the polygel to adhere to.
Step 3: Apply the Polygel: Apply a small amount of polygel onto the bottom of the dual form applicator (some like to apply the gel directly onto their real nail, both work). Add a small brush dip of the slipping solution and spread the polygel evenly through out the dual form.
Step 4: Apply Dual Form: Press the dual form onto your nail. Flip hand over and use a brush to flatten and shape the gel in the dual form. Remove any spillage. Let it cure under the UV lamp for 1-2 minutes.
Step 5: Remove Dual Form: Carefully remove the dual form to reveal the polygel nail hardened in the shape of the dual form.
Step 4: Sculpt Your Nails: Shape the polygel on your nail into your desired length and style and any excess polygel on the bottom and sides of your nail.
Step 5: Top Coat: Finish by applying a layer of top coat to seal the design and add shine. Cure the polygel one last time under the lamp for 1-2 minutes. You can apply any other nail polish and designs or wear your polygel nails bare.
How To Remove Polygel Nails
The best way to remove polygel nails is using an electrical nail drill if you have one. If a nail drill isn’t accessible, a standard nail file can still get the job done, albeit it will require more time and effort. You can also soak your nails in gel remover for nails for approximately 5-10 minutes. You should then be able to easily remove the polygel using a cuticle pusher.
Related: Get Hailey Bieber Nails – Her Favorite Looks
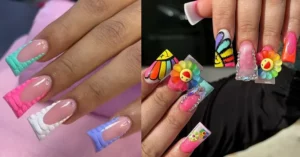
Polygel Nail Designs
Now that you’ve mastered the basics of polygel nails, let’s talk about the fun part—designs! Polygel nails offer endless possibilities for creativity and self-expression. Here are some trendy polygel nail design ideas to inspire your next manicure:
Ombre Nails
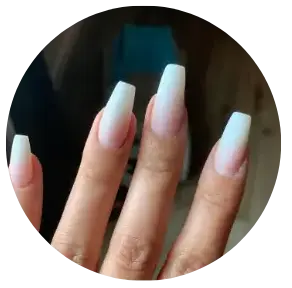
Blend two complementary polygel colors to create a stunning ombre effect. This gradient design is eye-catching and versatile.
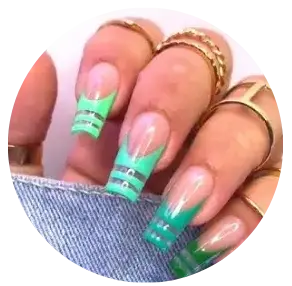
French Tips with a Twist
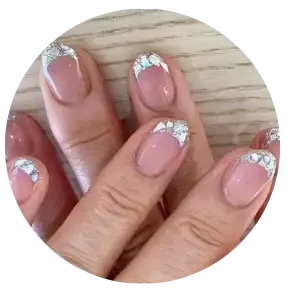
Give the classic French manicure a modern twist by using different colors or adding glitter to the tips.
Marbled Nails
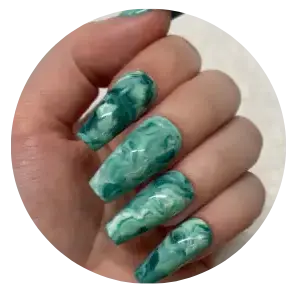
Achieve a marble effect by marbling two or more polygel colors together and using the water marbling technique for a chic and unique look.
Glitter Galore
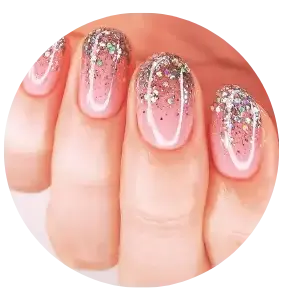
Add a touch of glamour to your nails by incorporating glitter into your polygel design. You can go for a full glitter nail or use it as an accent.
3D Nail Art
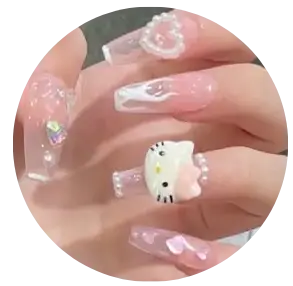
Elevate your polygel nails with 3D nail art embellishments like rhinestones, pearls, or charms for a luxurious look.
Negative Space Nails
Leave sections of your natural nails exposed to create intricate negative space designs. This minimalist approach adds a trendy and elegant touch.
Floral Nail Art
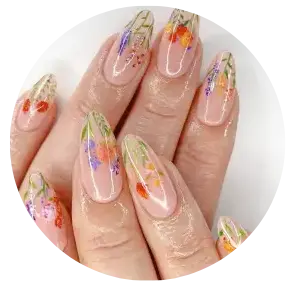
Embrace the beauty of nature with delicate flower designs. Use fine brushes and vibrant polygel colors to create intricate floral patterns.
Geometric Patterns
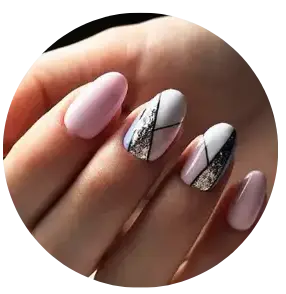
Achieve a modern and edgy look by incorporating geometric shapes and lines into your polygel nail design.
Animal Prints
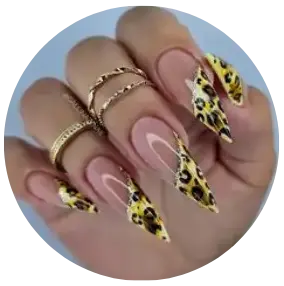
Show off your wild side with animal print patterns like leopard spots or zebra stripes. Experiment with various colors to create a unique twist.
Glowing in the Dark
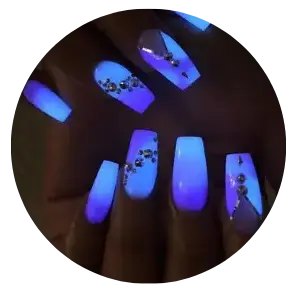
Some polygel kits offer glow-in-the-dark options, allowing your nails to shine bright in low light. Perfect for parties and events!
Also Read: